
With those apprehensions noted we played the classic trench assault scenario - The Big Push. This is the first of the three scenarios in the Great War booklet and when combined with the two from Wargames Illustrated, marks the beginning of what could easily be a campaign.
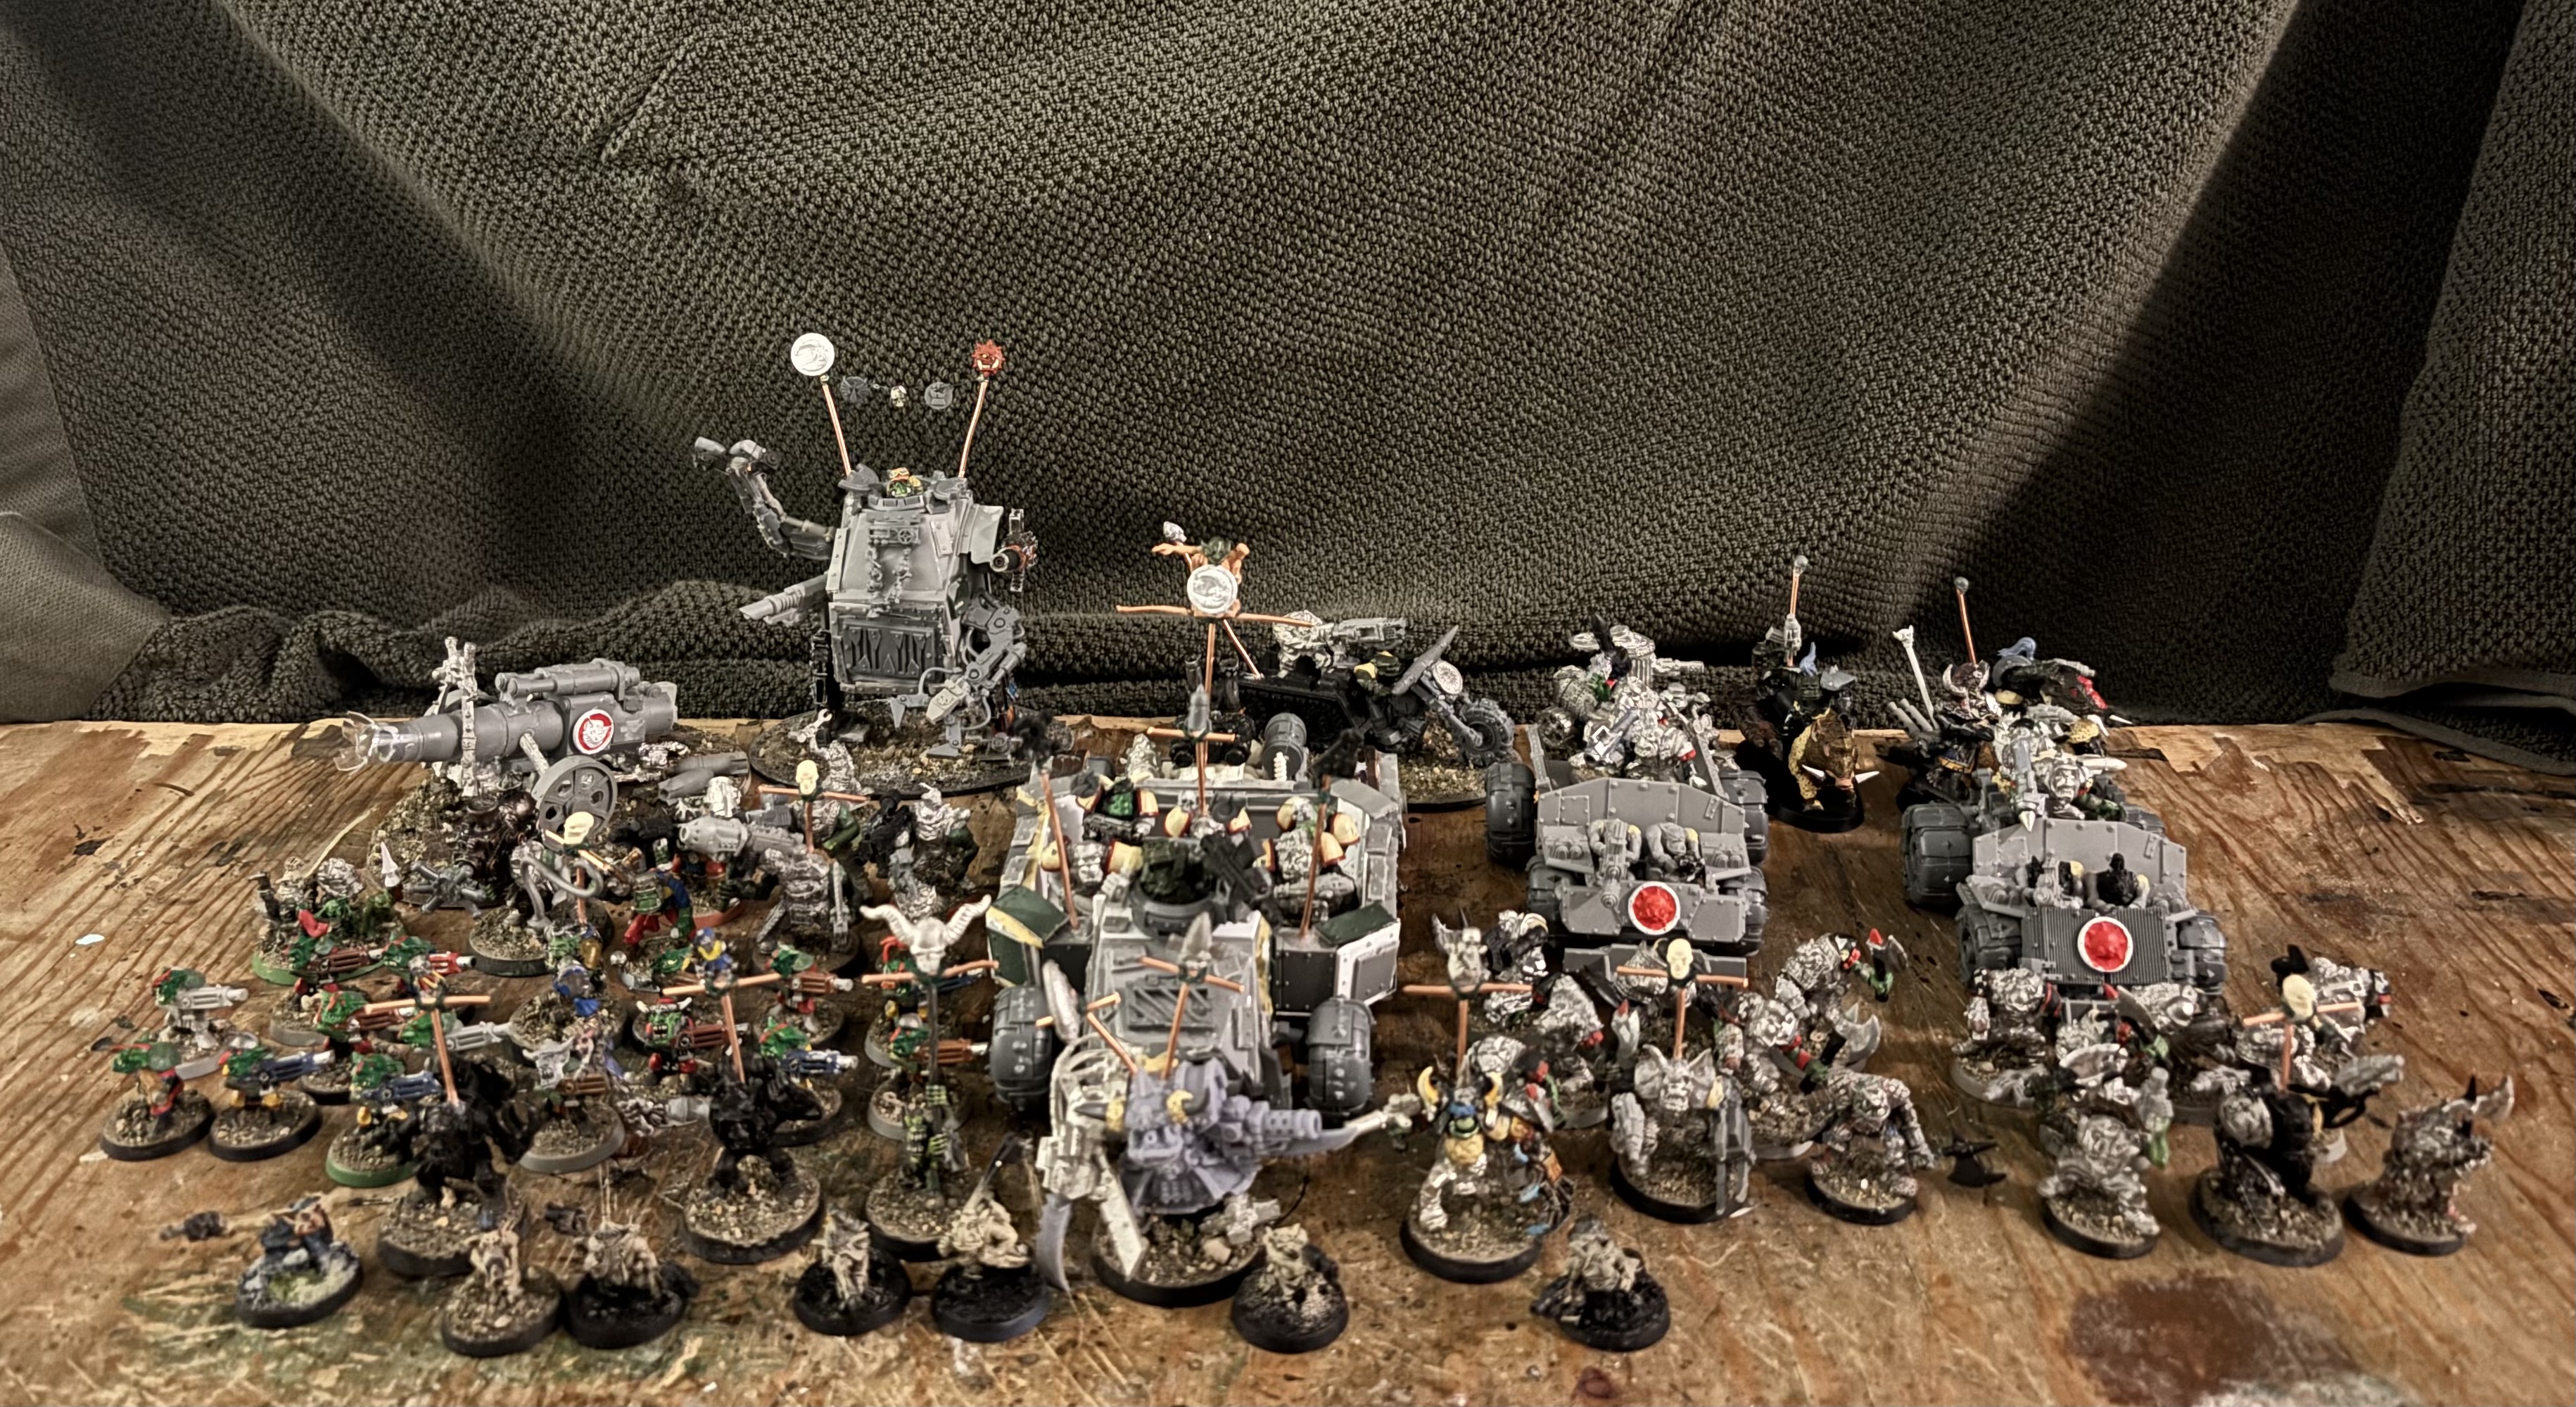
Naturally, have two forces prepared for the game. Each was based on the forces that you get in the initial army boxes - Blitz's Battlegroup and Mitchell's Marauders. Point level was 1500.
The German force is an Infantry Company from a reserve division so the troop rating is confident trained. The list is as follows:
HQ
CO and 2iC with SMG upgrade
3 Flamethrowers
3 AT rifles
2 Granatenwerfers
Marksman (the term sniper was not common in the period)
Combat
2 Infantry Platoons with 6 Rifle teams, 2 MG teams and SMG upgrade for the command
Weapons
Infantry Machine Gun platoon with 4 HMG
Support
1 A7V tank
1 Infantry gun platoon with 2 7.62cm Krupp guns
The British force is based on an Elite Division and is rated confident veteran. In theory, this should make the British force smaller but in reality both armies would have 6 platoons and almost the same number of bases. The German had a slight advantage due to the large number of HQ upgrades they could afford. The British list is as follows:
HQ
CO and 2iC pistol teams
Marksman
Combat
2 Rifle Platoons with 4 rifle, 2 MG and 2 rifle grenades
Weapons
MG Platoon with 3 HMG
Support
Mk IV male tank
Artillery Detachment with 2 OQF 18 pdr gun
Tom took the British and I the Germans. We rolled off for attacker/defender as we both had a tank and neither had an artillery battery. In the GW an artillery battery is auto-defend and tanks are auto-attack so a dice roll was required. I won and chose to attack thinking that both armies would be playing too their strengths. Generally speaking, CT armies are better on the attack as the lower point cost allows for bigger armies. Veteran armies, however, are much stronger in defense where their skill along with terrain make them very hard to hit.
The terrain setup is pretty well static with the defender's trenches dominating the table. For our game we used some craters, roads, shattered woods and damaged buildings. The defenders also get up to 6 barbed wire sections to go in no-mans land (naturally I forgot to bring those so we have to improvise with some store terrain). Since the attacker sets up 2" off the center line most of the table on their side is not of much consequence.
 |
| The initial deployment and terrain placement. The British are at the top. They have one rifle platoon spread out along the length of the trench. Tom placed his HMG teams into MG pits with 2 on the German right and one on the German left. The British 18 pdr guns were deployed in gun pits on either side of the road behind the center trench section. For the Germans the extreme left of their line was the A7V. Moving towards the right was the first infantry platoon reinforced with 2 flamethrowers, 1 AT rifle and 1 granatenwerfer. The CO was also in support of this flank. The German center was covered by the 2 trench guns and the HMG platoon. On the right was infantry platoon 2 reinforced with one flamethrower and two AT rifles and one granatenwerfer. |
 |
| The British positions on the German right. The junction between the trench and the communication trench is the objective. This is well covered by two HMG nests and the 18 pdr. The Germans would attach this position with platoon 2 as a diversion to prevent the British from shifting all the infantry in the trench to the German left. |
 |
| The British positions on the German left. With one fewer HMG nest this side would be the major focus for the Germans. And like the right side the objective would be the trench junction. In theory, this should be the easier side for the Germans to breach with the weaker defense and the A7V facing this section. |
 |
| The German left and center. The HMG platoon deployed in the shattered woods would turn out to be a mistake as it did not provide bullet-proof cover like the cratered ground just outside the woods. |
 |
| The German right and center. In retrospect the trench guns would have been more use in direct support of the platoons rather than in the center where they were easy targets for the 18 pdrs. |
 |
| By turn 2 the 'diversionary' attack on the German right had made surprising progress and breached the British trenches. At this point a critical decision was made to assault the unpinned HMG nest rather than make and Infantrie Vor! move to consolidate into the trenches. The assault was be repulsed by defensive fire with losses. The British would then finish off the Germans in the open. |
 |
| On the German left the attack was bogging down at the wire. 18 pdr fire was damaging the A7V and then poor movement by the German infantry effectively too the tank out of the fight. |
 |
| With the loss of platoon 2 the Germans were able to recycle the platoon and bring in platoon 3. This was placed to the center left in support of the failed attack by platoon 1. Yes, the Germans reinforced failure but it seems like the right idea. |
 |
| The remnants od platoon one finally made it to the trenches and did some damage. They were able to clear some rifles from the trench and eliminate the HMG nest. This should open the door for platoon 3 to storm the trenches but they were a little out of position. |
 |
| Remnants of platoon 1 in the trenches and platoon three making their assault. Defensive fire would be too much for platoon three and they would be pushed back. |
 |
| With the failure of platoon three's assault the British were able to shift their defense to the German left and clear the trenches. Platoon three would die in no-man's land. |
In all the game would go 5 turns with the Germans being in a great position on turn two to get the win. Bach decisions by me in deployment and movement doomed the attack. I really like how this played out and Tom and I had lots of fun. It was much more of a nail biter of a game that you might expect. The key to this is the close starting distance. Basically the attacker is at the final phase of a battalion level attack. The major blood crossing no-man's land has been shed and you are commanding a fresh company for the final assault. Even with that the Germans took huge casualties but it was a very winnable game. I am looking forward to trying this again. I am sure I will do better on the next attack...


.jpg)


No comments:
Post a Comment