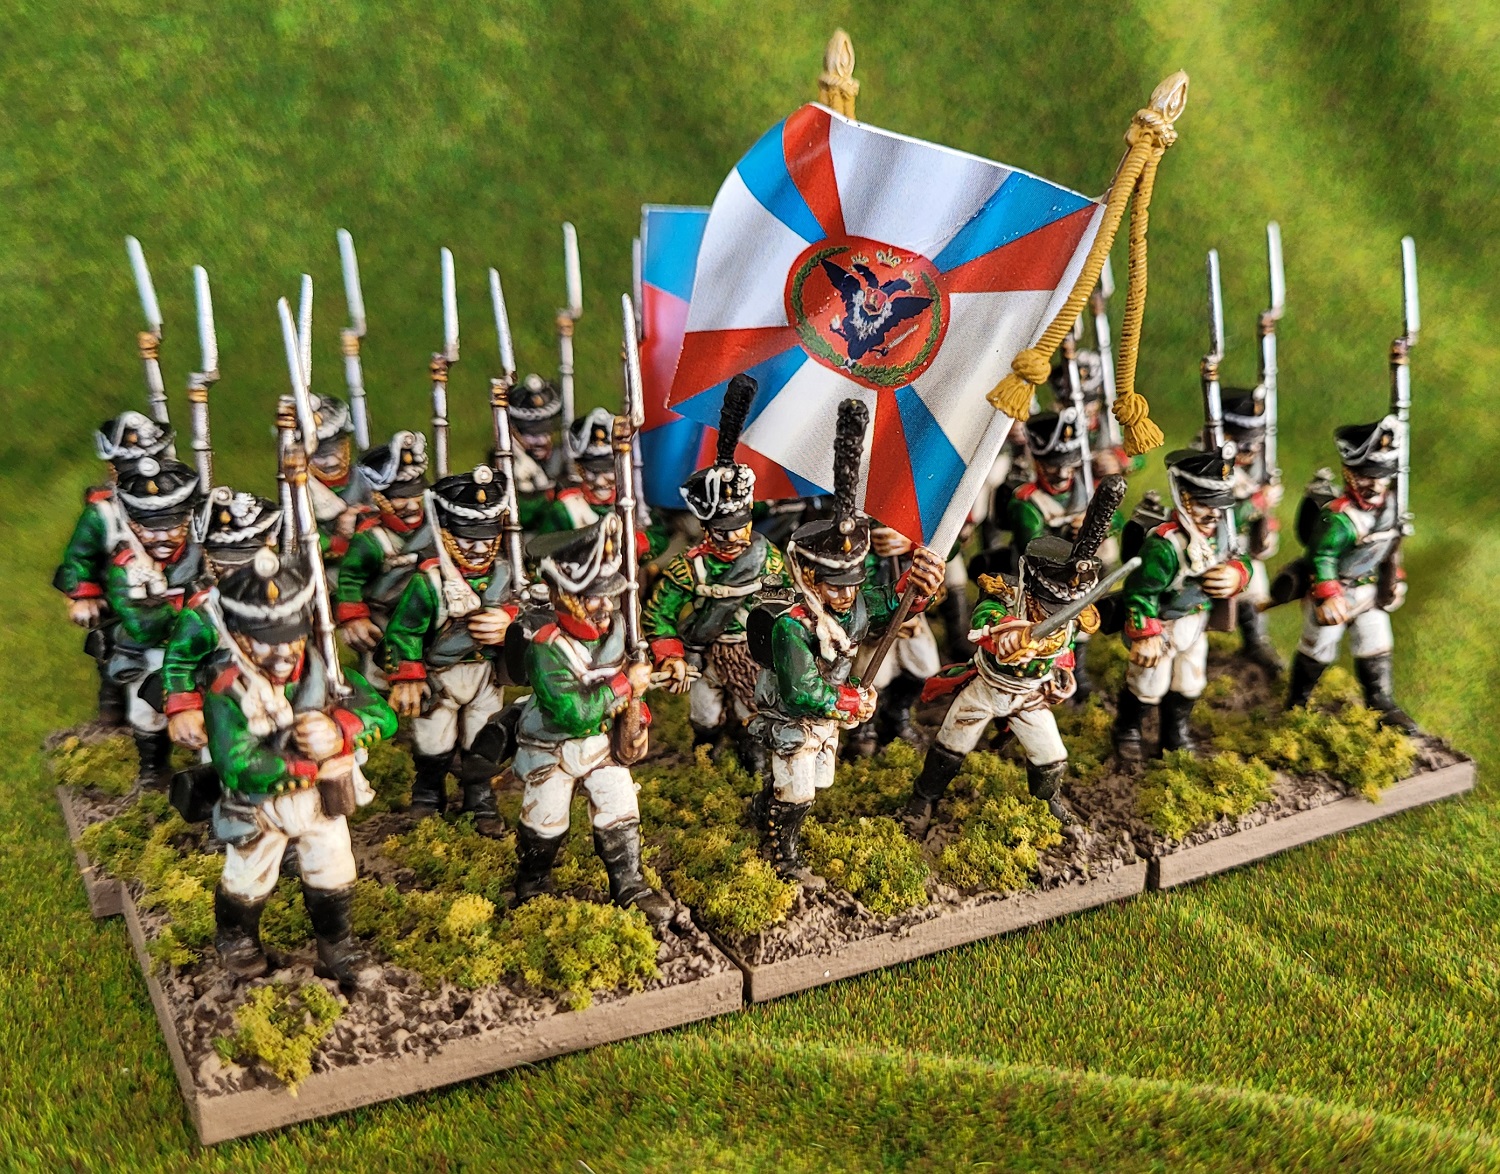
I finished the 2nd Battalion of the Tarnopol regiment. These are Perry plastics and this time I went with the soft caps. With 2 battalions the regiment is ready for battle!


I finished the 2nd Battalion of the Tarnopol regiment. These are Perry plastics and this time I went with the soft caps. With 2 battalions the regiment is ready for battle!
As has become the norm around here, I have been very bad about blogging my gaming and modeling progress. I have actually been having a pretty good year on both fronts, but I have been too lazy to document it.
My most recent completed paint project is the 1st Battalion of the Tarnopol Regiment. This is my first unit of Perry miniature for the Napoleonic era, and I must say, they are very nice. I selected the Tarnopol regiment using the same reasoning I have used for all my Napoleonic units, I have the flags. I do not know a thing about this unit or its history.
I also painted a commander for the musketeer brigade, also a Perry model. Finally, I have my second Russian gun. This is a 12lb cannon from Warlord games.
 |
| Perry Plastic Russians. Excellent figures that are not really a great match for my Warlord plastics but should be OK in separate units. The kit allows for building earlier (1807-1812) or later (1812+) units. It also has heads with soft caps. There are way too many figures in the box for the size units I build so I ordered some separate command frames from Perry to build more units. |
 |
| I am following my painting standard for Russians of red for collars, cuffs, shoulder straps, and turn backs. These should have shoulder straps colored based on their seniority in the division. I don't know this info so they gat red and that's that. I might paint some units in the future where I use the regional color for the cuffs and collars. |
 |
| This is a Perry Russian Officer that I will use as a brigade commander. I don't have a good uniform reference so he got a fairly generic paint job. |
 |
| The Perry miniatures really are the gold standard for the period. |
 |
| This is the same model that my friend, Tim, painted for me a couple of years ago. The Warlord stuff is good solid and functional stuff that will not wow you. This is a half-battery so with the two I now have a full battery of artillery. |
 |
| I expect this will be the last Warlord gun I paint. Future artillery addition to this army will be Perry. |

My Russian Napoleonic collection is nearing the point where I can play a game. I now have 4 Grenadier battalions, 2 Musketeer battalions, a battery of cannon and 2 commanders. On the paint bench I have the 2nd battalion of the Tarnopol regiment as well as the army commander. After that I will paint the 2nd battalion of the Narva regiment and I will have 8 battalions. That is enough to get these guys on the table.
Future plans will be to add a second battery (Perrys miniatures) and a brigade of cavalry. That, I think, would complete this project. The next Napoleonic army on the list will be British. I really don't want to do them, but like the French, hard to do do the period without them.
For the first time since November 2020 I have finished a painting project. I am VERY rusty but I am happy with how these turned out. I am not totally sure why I chose these figure and my return to the painting hobby. I really love the look of painted Napoleonic figures but I find painting them a chore. I don't have any immediate plans to use these, it just seemed like the thing to do.
This is the first battalion of the Narva musketeer regiment with the 1812 Kiver (Kiwa). I am still struggling a bit with the colors on the uniforms. It seems like the collars and cuffs changed to red in 1807 but the shoulder straps stayed the regimental color. That means these are probably wrong but I can't find a reference for this regiment. They are the Narva regiment simple because I had flags for them.

These are Warlord games plastic figures. They are pretty nice and are not too bad to paint.
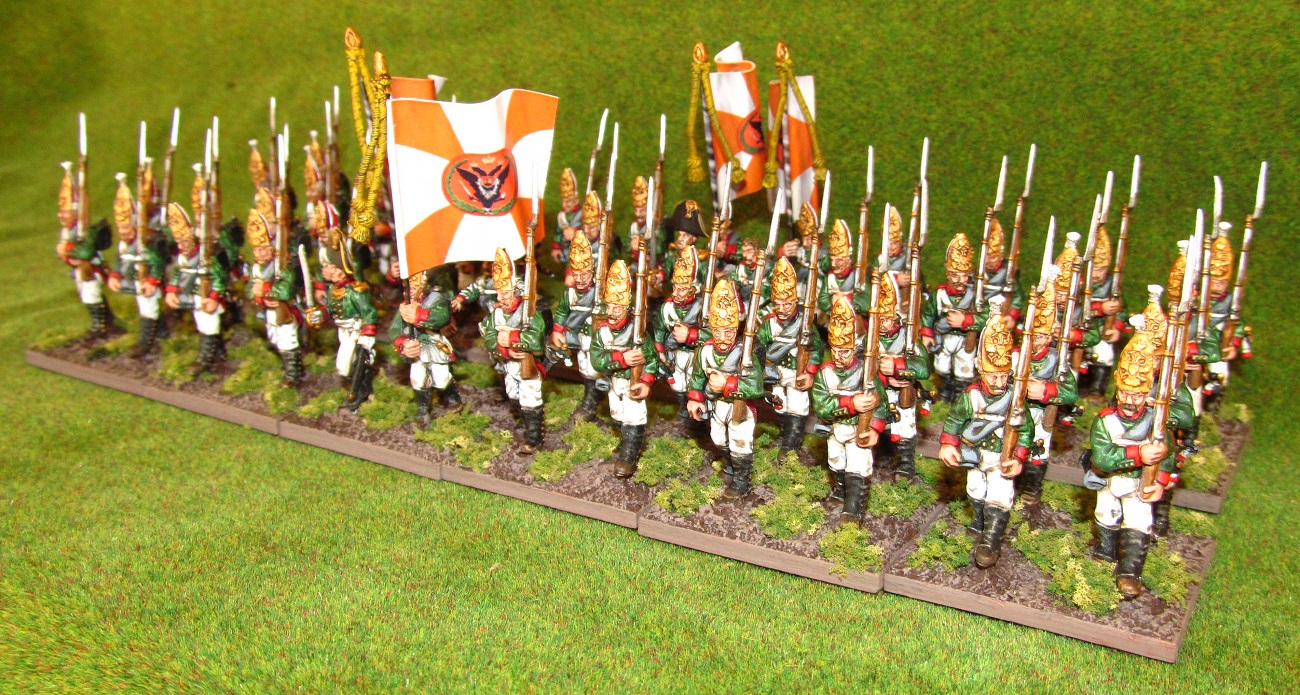
As part of the trade that got me the 12lb Russian artillery, Tim also painted a battalion of grenadiers. These have been based and bannered as the 3rd Battalion of the Little Russia Grenadier regiment. I have already painted the 1st battalion and Tim painted these to match. I think he did a good job matching my style.


With this battalion and the artillery I now have one fully painted brigade of Russians. That is just enough to get a small game in.


 |
1st battalion front |
 |
| 1st battalion rear |
 |
| 1st battalion command |
 |
| 3rd battalion front |
 |
| 3rd battalion rear |
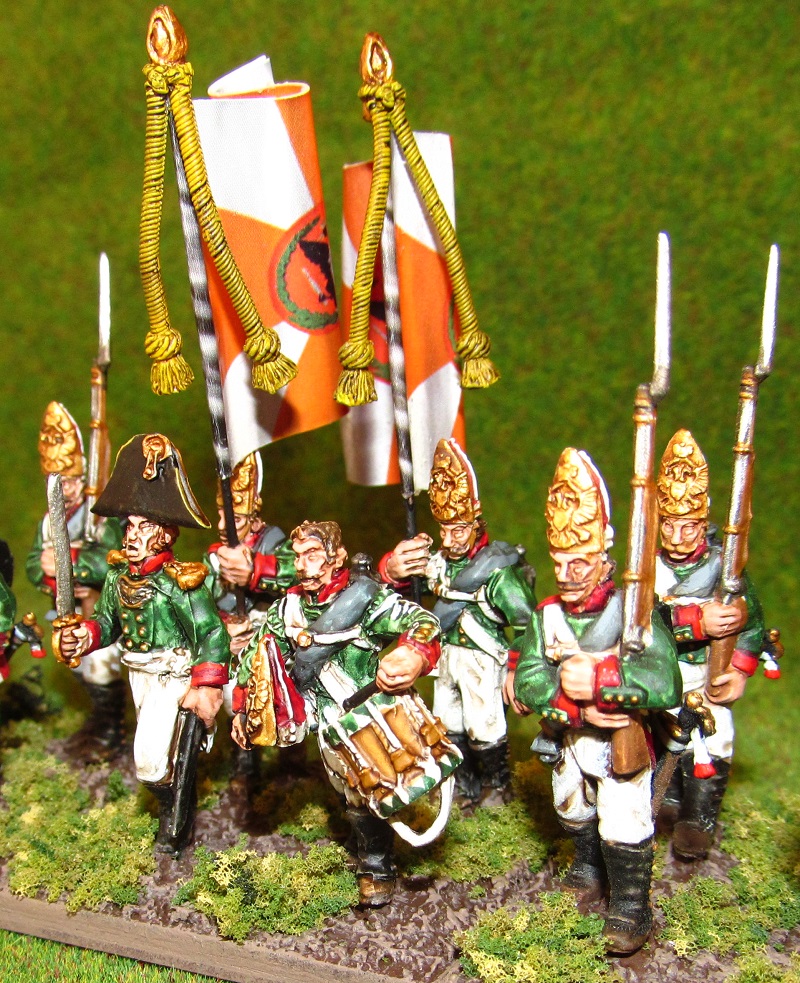 |
| 3rd battalion command |



 |
| 1st and 2nd Battalions of the 2nd Swiss Regiment |


 |
| Salem Church in the center of the battlefield. The fields are counted as open ground with no cover. |
 |
| The South woods. All woods are counted as Light Woods per the GH rules, page 54. |
 |
| The entire battlefield looking North to South. The table is 12' x 8'. |
 |
| South end of the Confederate line. Wilcox's Brigade, Anderson's Division is along the road, and completely separated from the other brigade of the division (which was deployed on the other side of the table for some reason). This would cause some command issues for the Rebs. This would be the location of some of the most important and dramatic fighting of the day. |
 |
| The Confederate deployment in the center. McLaw's Division would hold most of the ground in the center for the Rebs. These brigades were exhausted after a forced march to get to the battle and as such they were limited to one move per order. This had a bigger impact on the player than on the forces as they basically decided to stand fast all game. |
 |
| The Confederate deployment in the North. Mahone's Brigade, Anderson's Division is in the woods with McLaw's Division to their right. Mahone would put up a stubborn defense of these woods all game (but it probably wasn't very fun to play). |
 |
| The Union deployment looking South. The 3rd Division, VI Corps is in the woods and the open ground next to it. The 3rd Brigade would have a tough time getting moving in the woods. The commander would blame the terrain but lack of competent command and control was the real cause. |
 |
| Over 1500 28mm figures deployed for battle. It was a truly stunning sight. |
 |
| The Union center. Mostly the troops of the 3rd Division. |
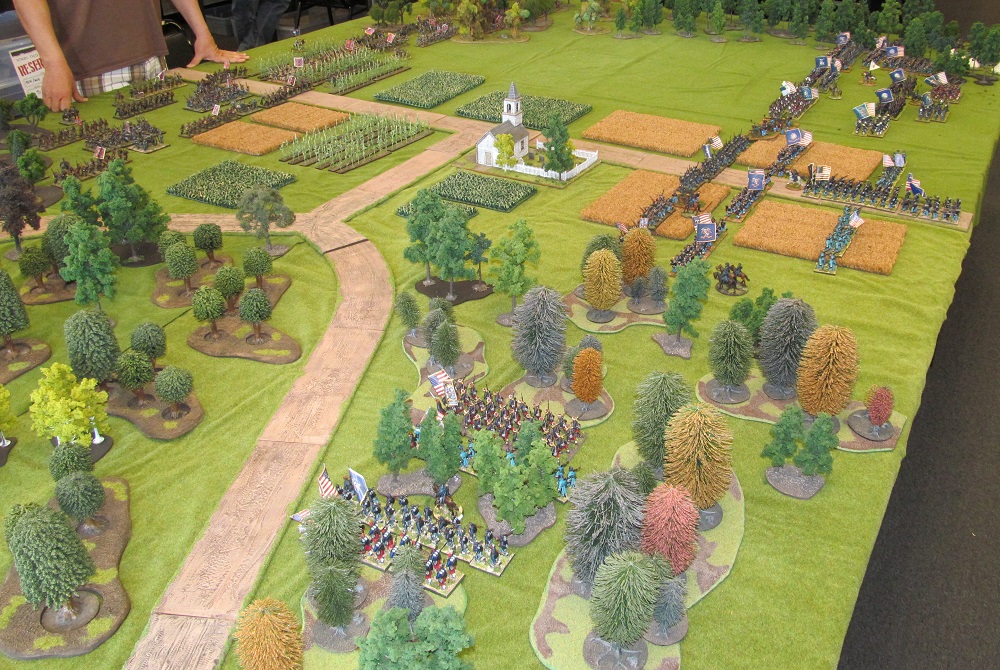 |
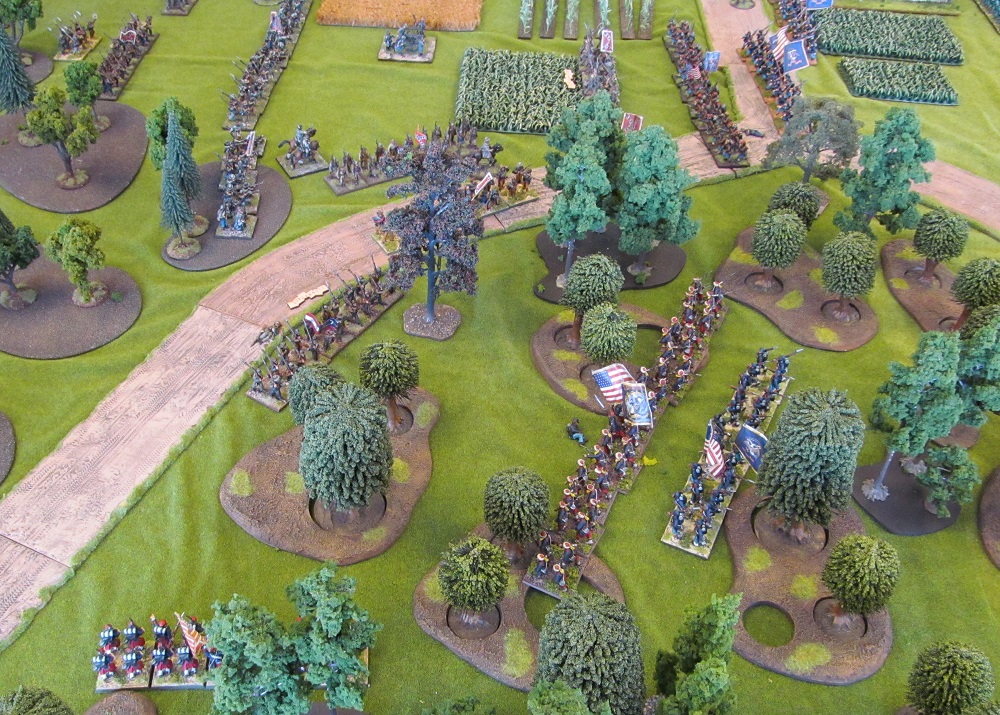
| The Union deployment looking South to North. The 2nd Brigade, 1st Division, VI Corps is in the woods in the foreground (me). The 3rd Brigade, 1st Division is in the center ready to advance on the church. 1st Brigade is in support acting as division reserve. |
 |
| The 3rd Division advances in the open on the Union right. A dazzling sight but the Rebs have already taken up defensive positions in the woods. |
 |
| The Confederates are trying to get units in line along the edge of the woods to pour fire into the advancing Union troops. It appears that one Reb regiment has left their flank hanging open but the Uniion troops were too slow to take advantage. |
 |
| In the center the 3rd Divion is rapidly advancing on the right but the 1st Division is lagging behind, or so it seems. The union plan was to try and draw the Confederates in the South towards the center and then outflank them through the woods. The plan was sound. |
 |
| The 2nd Brigade, 1st Division makes its move. The 46th Pennsylvania is used as bait to draw the Confederates up the road towards the crossroads. The remainder of the brigade, in march column, moves into the woods to wards the open Confederate flank. |
 |
| The Confederates slowly move units towards the church but poor command rolls are hammering the effort (not to mention exhausted troops). |
 |
| Back on the North end the 3rd Division is slowed by withering Confederate fire. Casualties are mounting and disordered units are blocking the advance. The difficulties in passing through are not helping. |
 |
| In the South woods the Confederates have been caught with their pants down. They desperately reposition units to stop the Union troops advancing through the woods. The 114th Penn has routed a Reb regiment off the road and is now on the flank of the entire Confederate army. The 46th Penn, that was holding the crossroads has been routed but units of the 3rd Brigade, 1st Division have moved in to cover the crossroads. |
 |
| The fight at the crossroads is reaching a fevered pitch. The Confederates are desperately trying to stop the Union advance as well as contain the flank attack. In the center the Union is in control of the church as farther North a bulge is forming in the Union lines. |
 |
| The fighting in the South woods is getting brutal. Wilcox's Brigade, Anderson's Division has broken and the remnants are retiring. The Confederate flank looks to be in serious trouble. The only help in the area is Wofford's Brigade, McLaws Division which is exhausted and having a very tough time repositioning. |
 |
| The 3rd Brigade, 1st Division has been pressing the Confederates near the crossroads hard, maybe too hard. They are near their break-point and the 1st Brigade has now been committed in the center near the church. Both sides are showing signs of ware in the South end of the fight. |
 |
| The Union 3rd Division has been pressing forward methodically and now a bulge has formed in the open ground. The Confederates in the area look strong but they are taking lots of damage. |
 |
| The 5th New York charges and Alabama regiment along the road. A risky move but one that could pay off in a big way. The 2nd Brigade is behind the main Confederate line with very little in front of them. |
 |
| THe other two regiments of the 2nd Brigade are disordered and unable to move forward to keep the pressure on the Confederate flank. This is the high-water mark for the Union. |
 |
| In the North woods the 3rd Brigade, 3rd Division is halted by Mahone's Brigade. It is like a wave crashing over the rocks. The Confederates will not be moved even against huge odds. |
 |
| The bulge in 3rd Division's lines. I am not sure what is happening here but the lack of concentration in the attack would not produce positive results. |
 |
| The Alabamans have been routed but not before shaking the 5th New York. This along with the loss of the 46th Penn would break the brigade. The 2nd Brigade, 1st Division begins to retire back through the woods. The Confederate flank is saved. |
 |
| The 1st Brigade, 1st Division also has had enough and begins to retire. The loss of the entire 1st Division marks the end of the battle. |
 |
| Back in the North woods the Confederates are only one casualty away from loosing the battle. |




.jpg)


